Photoshop Concept over 3d
When making the concept for your own 3d model, you often reach the texturing part without a clear direction of what approach to follow.
Using a clever technique, you can take your 3d model and build shadows & highlights layers based on them - so you basically draw underneath as if you were drawing right on the diffuse texture.
I sometimes use this to block out a quick color theme for an object.
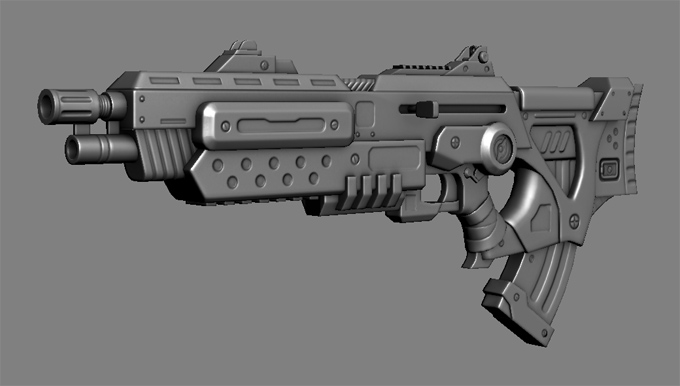
On your 3d application, set the diffuse to midgrey diffuse (RGB 128,128,128), and take a screenshot you'd like to draw your quick concept on.

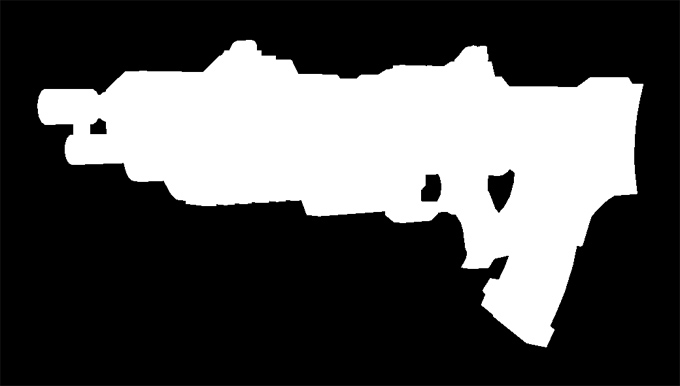
Using exactly the same view, take a 2nd screenshot - this time use a material on your mesh with a constant white material, and set the background to black. (I usually use a constant black sphere so I could toggle its visibility)

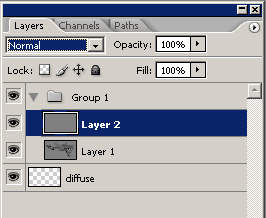
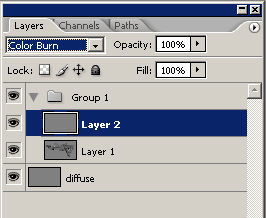
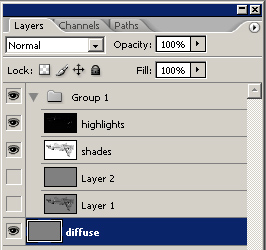
Open the first image in photoshop, put it in it's own group with layer filled with midgrey (rgb 128,128,128). make a layer underneath this group named diffuse for later.

1. Change the midgrey layer blend mode to color burn.
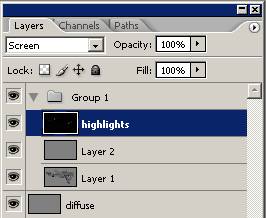
2. Select-All (ctrl-a), Copy merged (shift-ctrl-c), and paste (ctrl-v).
3. Name the resulted layer "highlights", and change its blending mode to "screen".


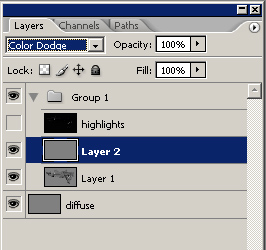
1. Hide the "highlights layer", and change the midgrey layer blend mode, this time to color dodge.
2. Again, do Select-All (ctrl-a), Copy merged (shift-ctrl-c), and paste (ctrl-v).
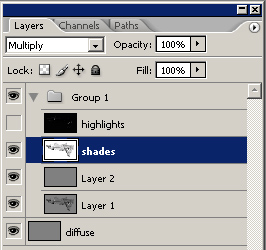
3. Name the resulted layer "shades", and change its blending mode to multiply".


1. hide the original layer and midgray layer, and unhide the "shades" and "highlights" layers.
2. fill the diffuse layer we did earlier with grey, and you should also apply the mask from earlier on the diffuse.

You can now draw on the diffuse layer, or a set of layers underneath, and build a quick color theme.
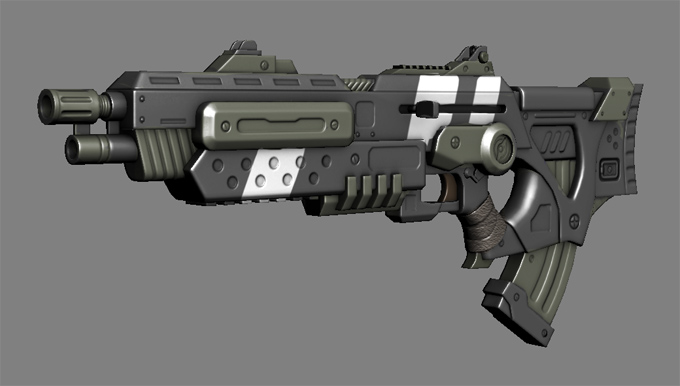
Below is the final result of my color theme with the gun.
